Create policy
Create a policy to set the rules members follow when they travel with Bolt for Business.
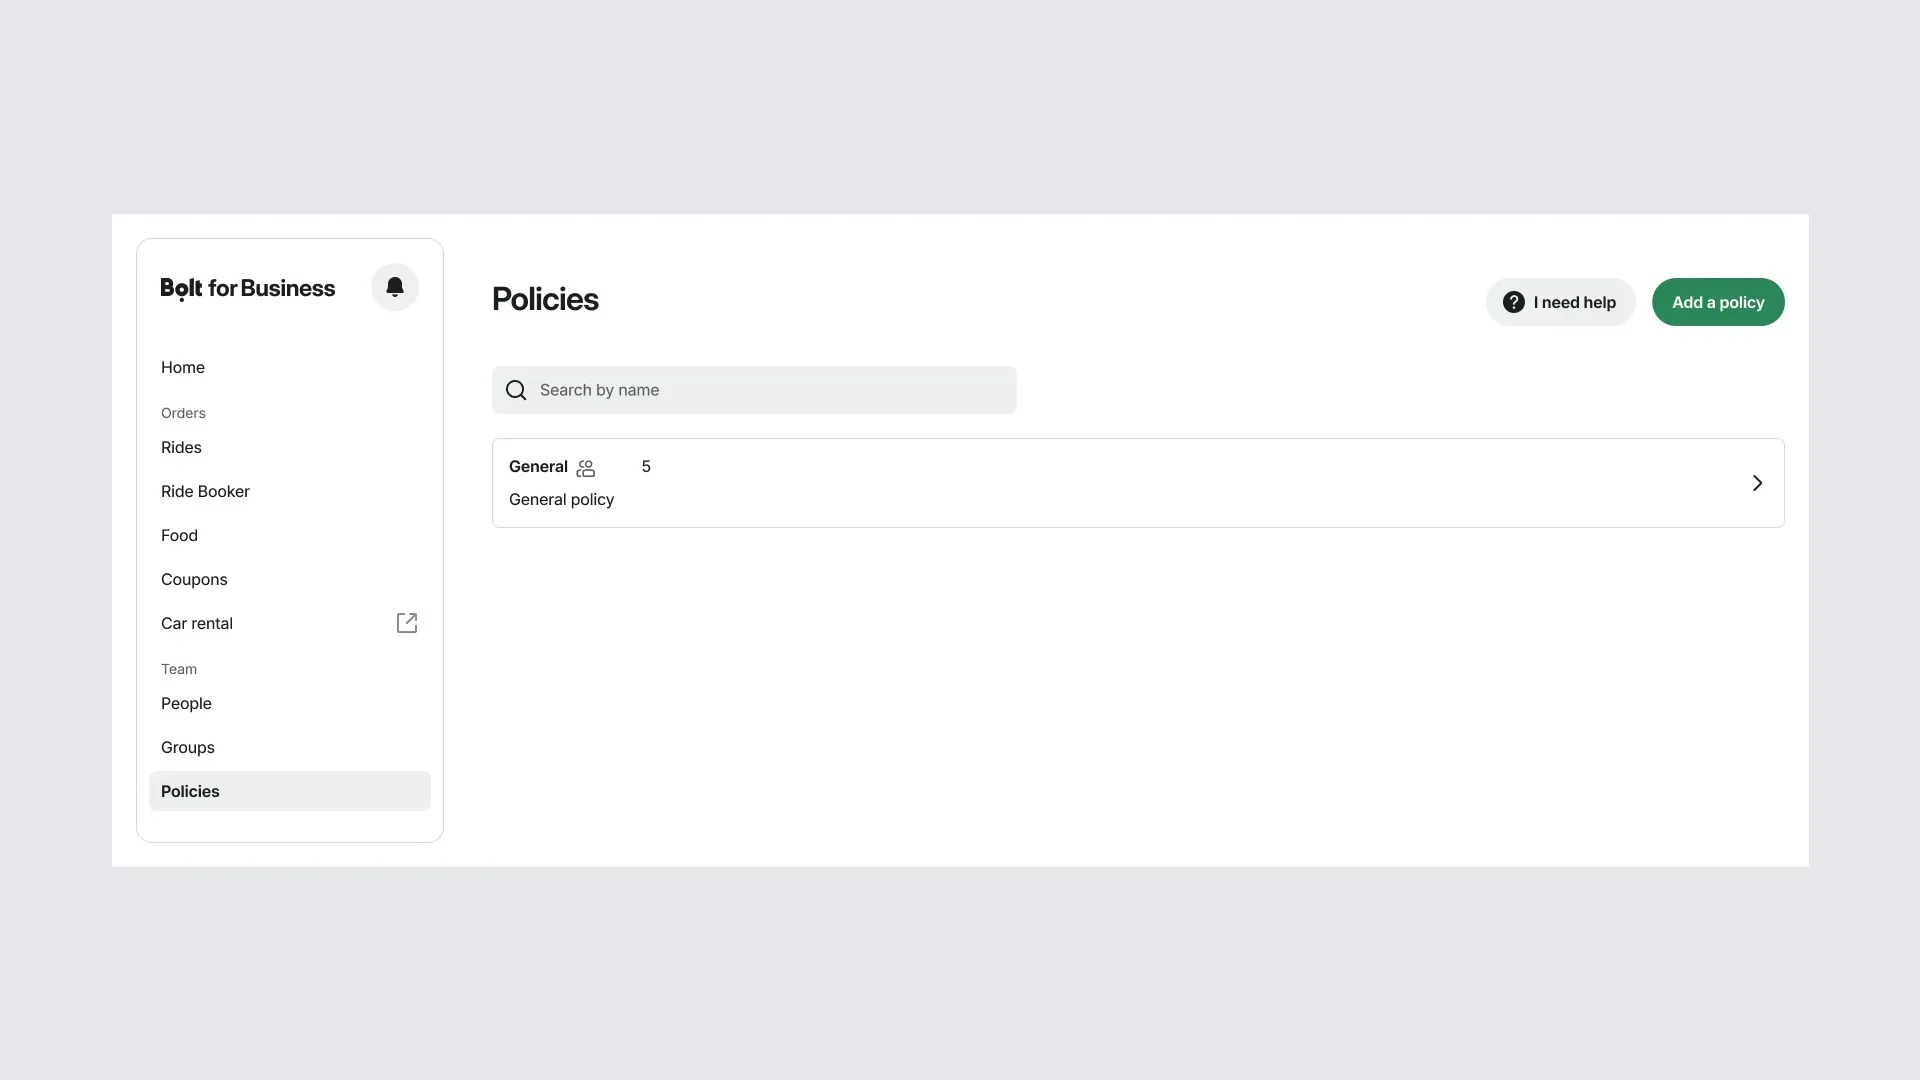
1. Open Policies
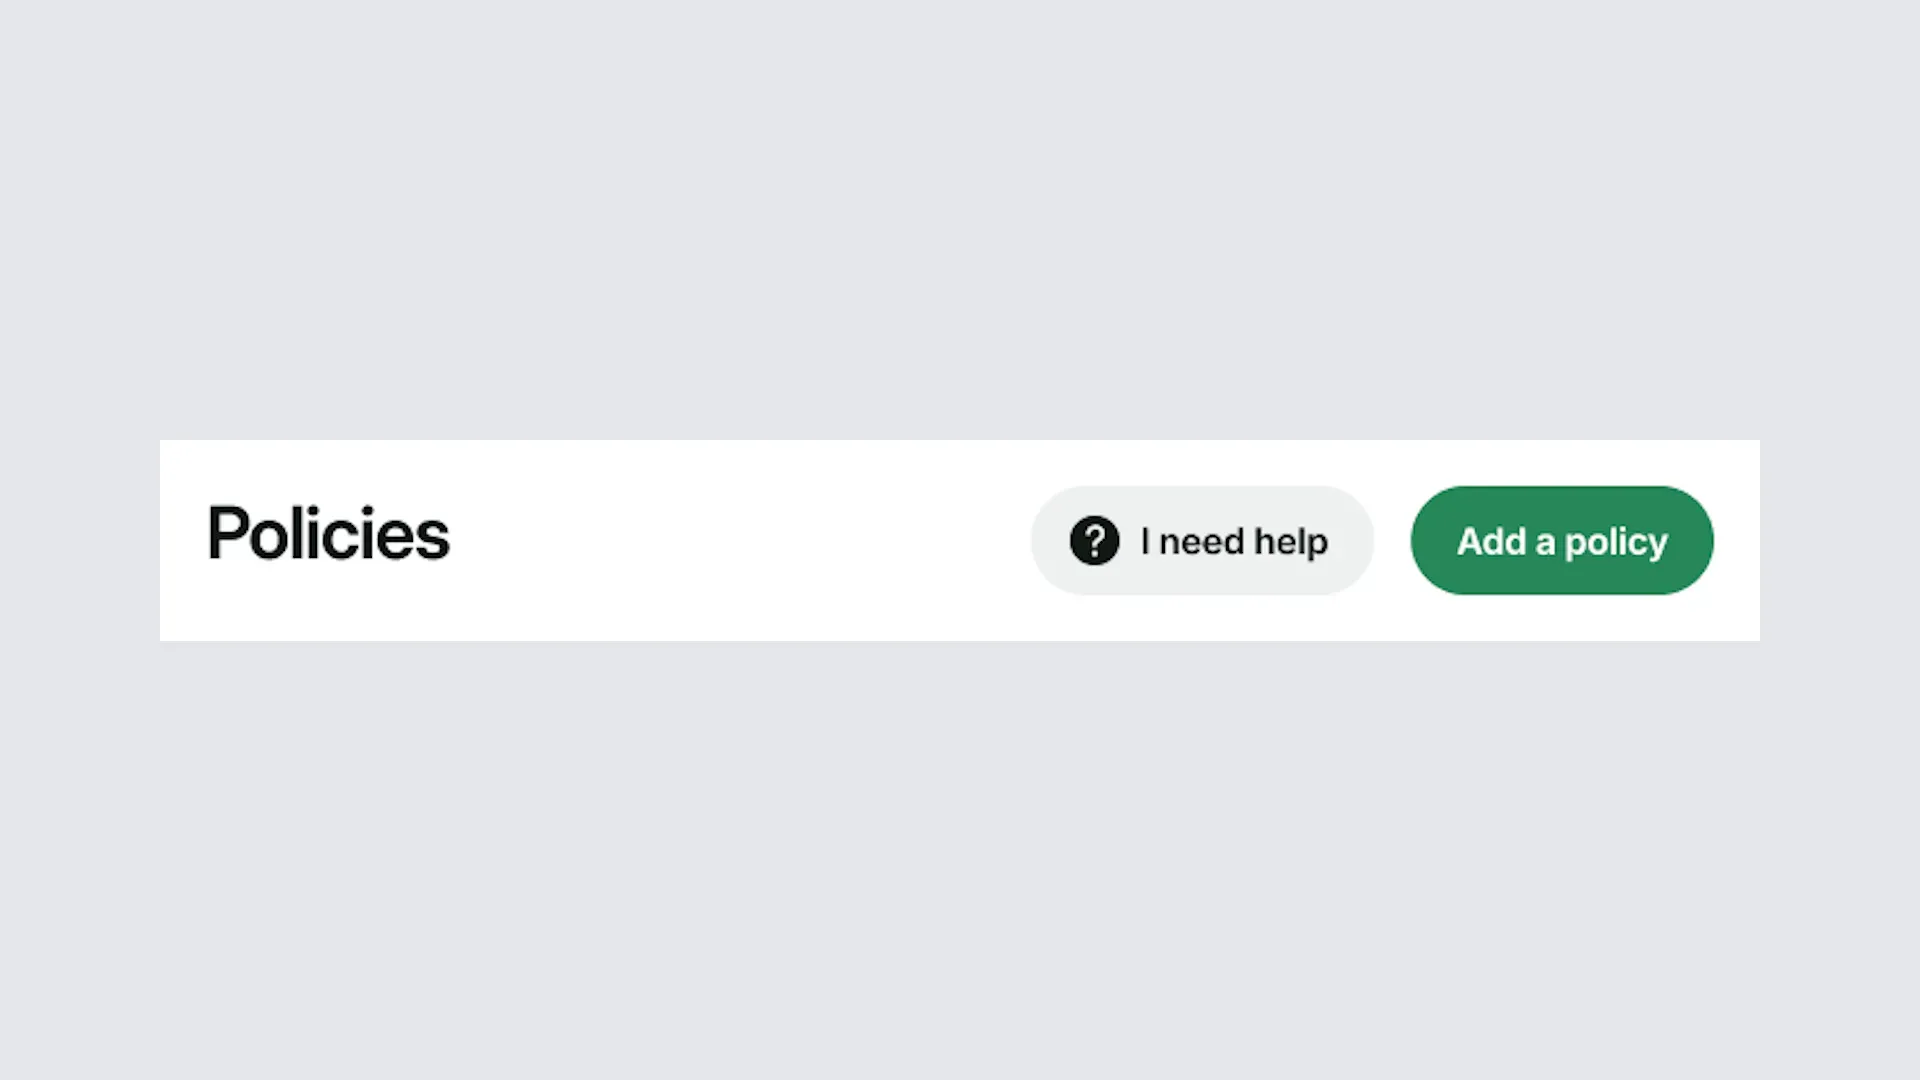
Sign in to the portal and select Policies from the menu. Then select Add policy.
2. Add policy details
Enter a name for the policy, add a description if needed, and set the rules you need. When you're done, select Add policy.
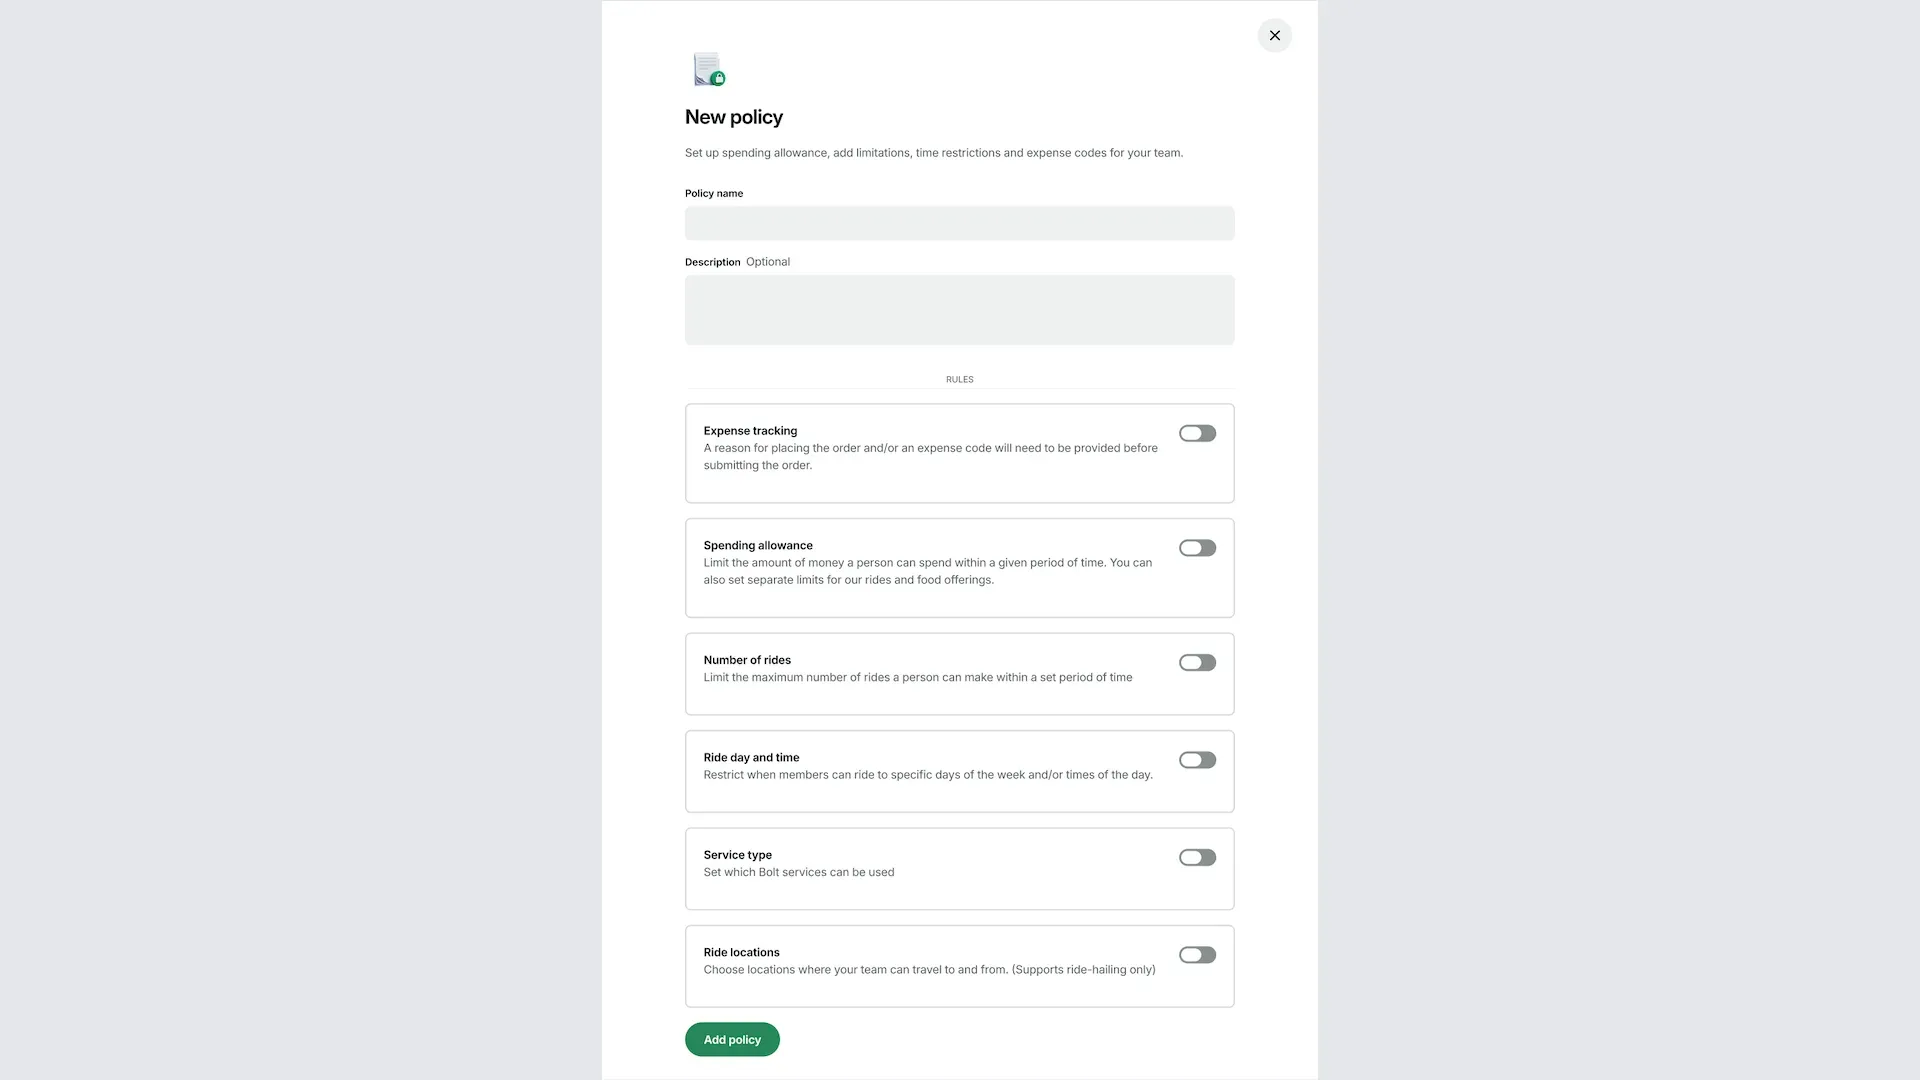
2a. Expense tracking: ask members to add an expense note, an expense code, or both when they order. Expense codes come from the list you upload.
2b. Spending allowance: set a spending limit for each member or the whole group over a set period.
2c. Number of rides: set the maximum number of rides each member can take in a set period.
2d. Day and time: choose the days of the week and times of day when members can ride.
2e. Service type: choose which Bolt services members can use, such as ride-hailing, rentals, or Bolt Food.
2f. Ride locations: choose the locations members can travel to and from with ride-hailing.
3. Connect the policy to groups
A policy applies only to the groups it's connected to. In Groups, open a group, choose the policy, and select Update group.
4. View and edit your policies
All the policies you've created are listed under Policies. Open a policy to check or edit it at any time.